Pokazywanie postów oznaczonych etykietą HEARTFELT CREATIONS. Pokaż wszystkie posty

piątek, 26 czerwca 2020

Baby Girl

Hi friends.
Time for another inspiration for 

 I invite you take some time and be inspired by the elegant card
 featured below for special occasions.


Other Products: Watercolor paint, glue, 3d squares, white card 120g, pink marker

Instructions: Create a double white card base 3 3/4 x 6’’. Cut out a slightly smaller rectangle from white card. Cut the third largest Majestic Swirl Frames Die out of pink paper from Tender Moments Paper Collection page 4B. Glue all layers on the base as shown. Stamp flowers, inscriptions and the elephant image in black ink. Paint using watercolor paint. Shade the inscription with a pink marker. Create a layered composition as shown. Using 3d squares.
Create a layered composition as shown using 3d squares.
If you missed the Tender Moments Collection.....you can see the entire collection here:  https://www.heartfeltcreations.us/2020-june-tender-moments..... Don't miss out, save 10% on the entire collection: https://www.heartfeltcreations.us/product-collections/tender-moments

Thank you for stopping by my blog today! I hope you like my creation.
Don't forget to visit Heartfelt Creation blog for instruction,
where you can find beautiful papers, dies,stamps and much much more.

Bożena//BBart


piątek, 8 listopada 2019

CHRISTMAS WREATH - tutorial


My Christmas project at Craft Stamper Magazine December 2019
and tutorial.

A layered garland of paper leaves, embellished with gauze and festive poinsettias.
Made entirely of stamps, and perfect as a Christmas home decoration.


MATERIALS:

Stamps used:
-Heartfelt Creations: Glow of Christmas
-Heartfelt Creations: Christmas Poinsettias &Holly

Other materials:
-HC O Holy Night Paper Collection
-HC Candlelit Christmas Paper Collection
-HC Glow of Christmas Die
-HC Christmas Poinsettias & Holly Die
HC Christmas Poinsettia 3D Shaping Mold
HC Deluxe Flowers Shaping Paper white
-HC Stack and Store Daubers
-HC Hydra Sponges

Ranger Archival Ink Jet Black
Ranger Archival Ink Vivid Chatreuse
-Memento Ink Pad Bamboo Leaves


I stamped nine sprays of holly from the Glow of Christmas set
 on the green paper from the paper collection.
I cut them with the coordinating die from the collection.


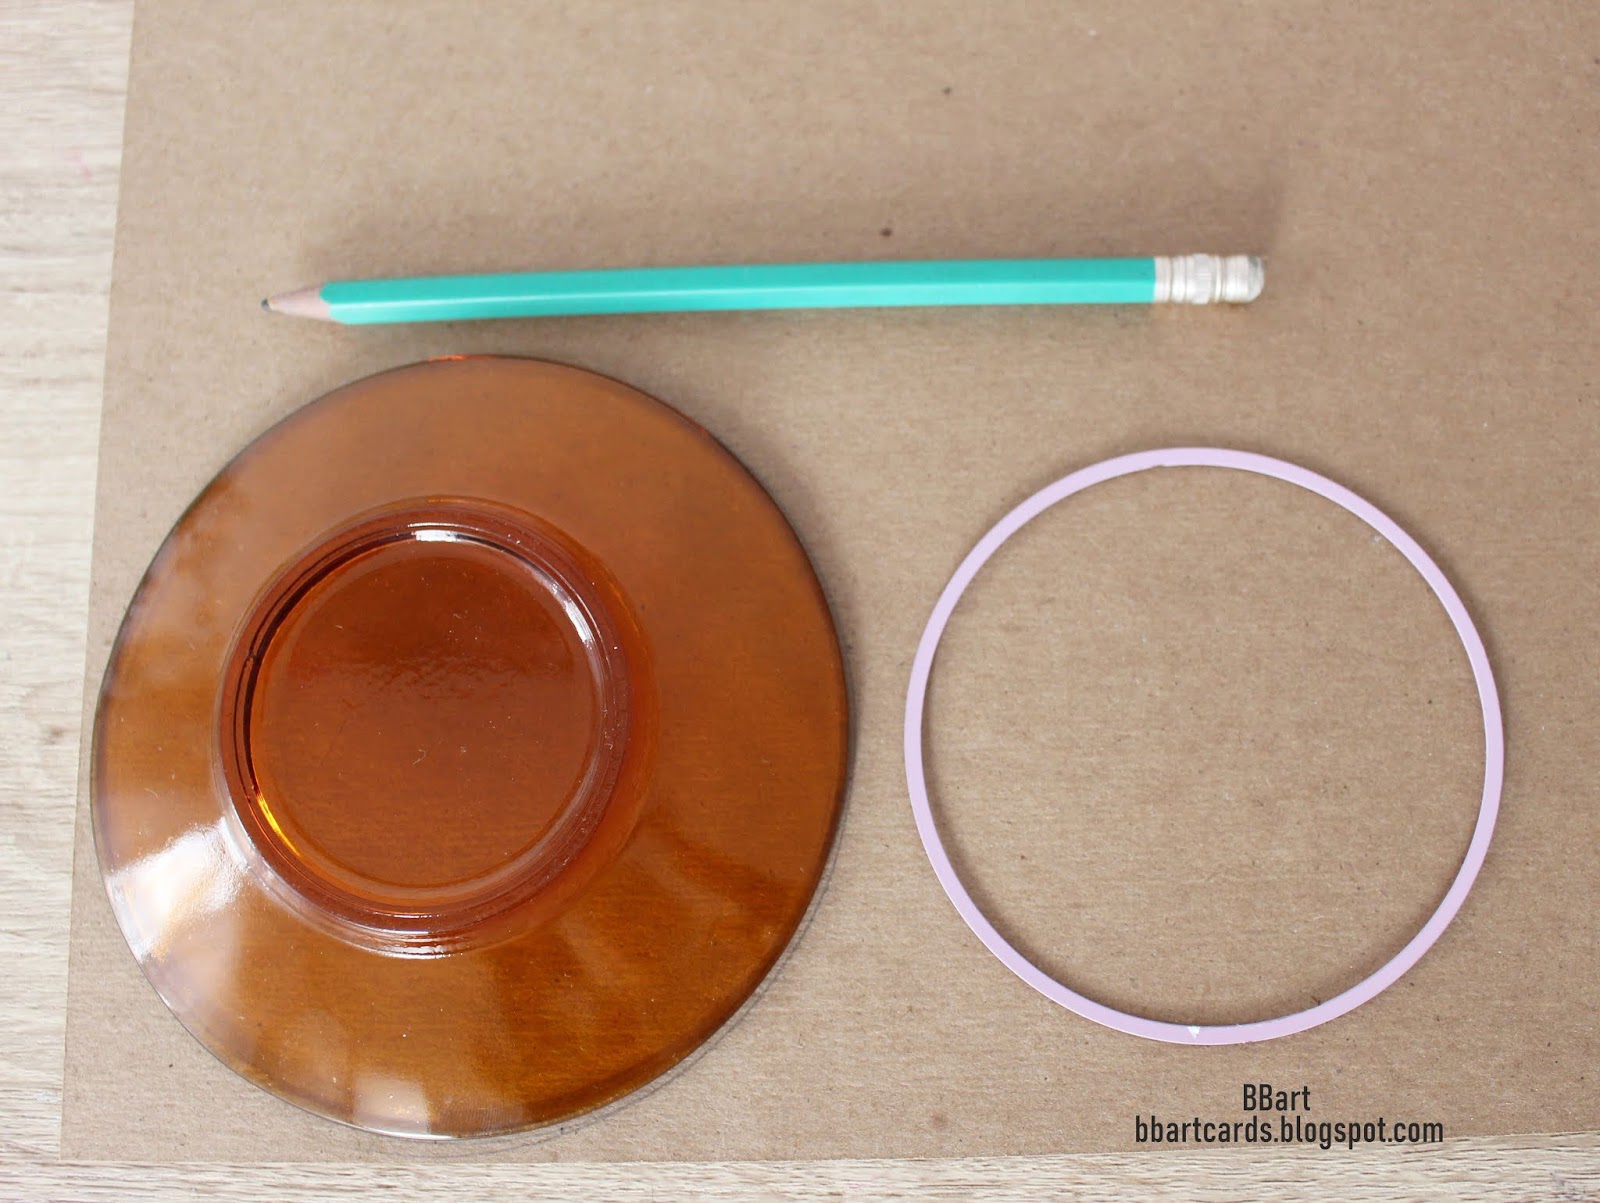
Trace around circular household objects,
and hand cut a circle frame from a cardboard carton.


I put holly on the previously cut out circle, gluing one on top of the other.
We'll need about 20 stems. Then I added a layer of gauze and glued it down.


You'll need 4 poinsettia flowers.
 To create the flowers, stamp the petals onto the red paper
 from the Candlelit Christmas Collection  with Archival Ink.


Die cut the petals, using the die a from the collection.
You  will need 2 petals for each flower.
The edges  of the flowers are covered with  white paint and sprinkled brocade.


Use the shaping mould to shape the petals,
glue 2 sets of poinsettia petals together to from the 3d poinsettia shape.
In the middle of the flower I glued a golden sequin.


On Deluxe Flower paper I stamped
and die cut holly leaves from the Christmas Poinsettia & Holly set.
 I coloured them with green Archival ink.


Glue one set of leaves on each side of the flower.
I decorated the wreath  with red balls and added white twine.

Finished!
Create your own decoration according to the tutorial.


Thank you for your visit.
Regards Bożena / BBart

środa, 21 sierpnia 2019

WINTER BEAR


Hi friends.
Today I come back with my inspiration for


Products Used:
Hand-Stitched Accents Die, HCD1-7207
Christmas Poinsettia & Holly Die, HCD1-7249
Starry Night Decorative Die, HCD1-7252
Merry Moments Die, HCD1-7254
Season of Glee Die, HCD1-7255
Stack and Store Daubers-Pack of 6, HCDA1-449
Candlelit Christmas Paper Collection, HCDP1-2104
Candy Cane Cottage Paper Collection, HCDP1-2105
3D Christmas Poinsettia Shaping Mold, HCFB1-478
Christmas Poinsettia & Holly Cling Stamp Set, HCPC-3881
Candy Cane Cottage Cling Stamp Set, HCPC-3884
Merry Moments Cling Stamp Set, HCPC-3885
Season of Glee Cling Stamp Set, HCPC-3886
Deluxe Flower Shaping Paper Pack of 25 - White, HCPP1-468

Other Products: Twine, gauze, white paint, sequins, gold brocade balls, watercolors paints, 3d squares, glue, black ink

Instructions: Cut a 4 1/4 x 5 1/2” card base from deluxe flower shaping paper. Using the hand stitched accents die, cut a frame from Candy Cane Cottage paper collection. Stamp snow balls using black ink as a background on designer paper and paint them with white paint. Stamp with black ink and diecut using the coordinating die, the Christmas trees and bear and penguin image. Paint the snow balls on the trees with white paint and paint the bear and penguin with colorful paints.
Prepare a paper poinsettia. Stamp 3 petals, 2 red and 1 green on the green and red paper from the collection and diecut using the coordinating die. Shape in 3d mold, glue the petals together, add a golden sequin to the flower center and paint the edges with white paint. With black ink on deluxe flower shaping white paper, stamp Christmas holly, color with green ink shape, diecut using coordinating die and shape in 3d mold.
Adhere the background paper and the frame to the card base, add gauze and adhere the Christmas trees and the bear and penguin image using 3d squares.  On the left side, glue the poinsettia and holly leaves. On right side arrange a composition of Christmas holly, golden balls and twine. With black ink, stamp the sentiment on deluxe flower shaping paper and fussy cut using scissors. Adhere using 3d squares.
Diecut the Starry Night border 2x from deluxe white paper and adhere at the top and bottom as shown.
I hope you like my creation.
Don't forget to visit Heartfelt Creation blog for instruction,
where you can find beautiful papers, dies,stamps and much much more.

Thank you for your visit.
Bożena/BBart