Pokazywanie postów oznaczonych etykietą KSIĘGI. Pokaż wszystkie posty

środa, 18 marca 2026

poniedziałek, 16 czerwca 2025

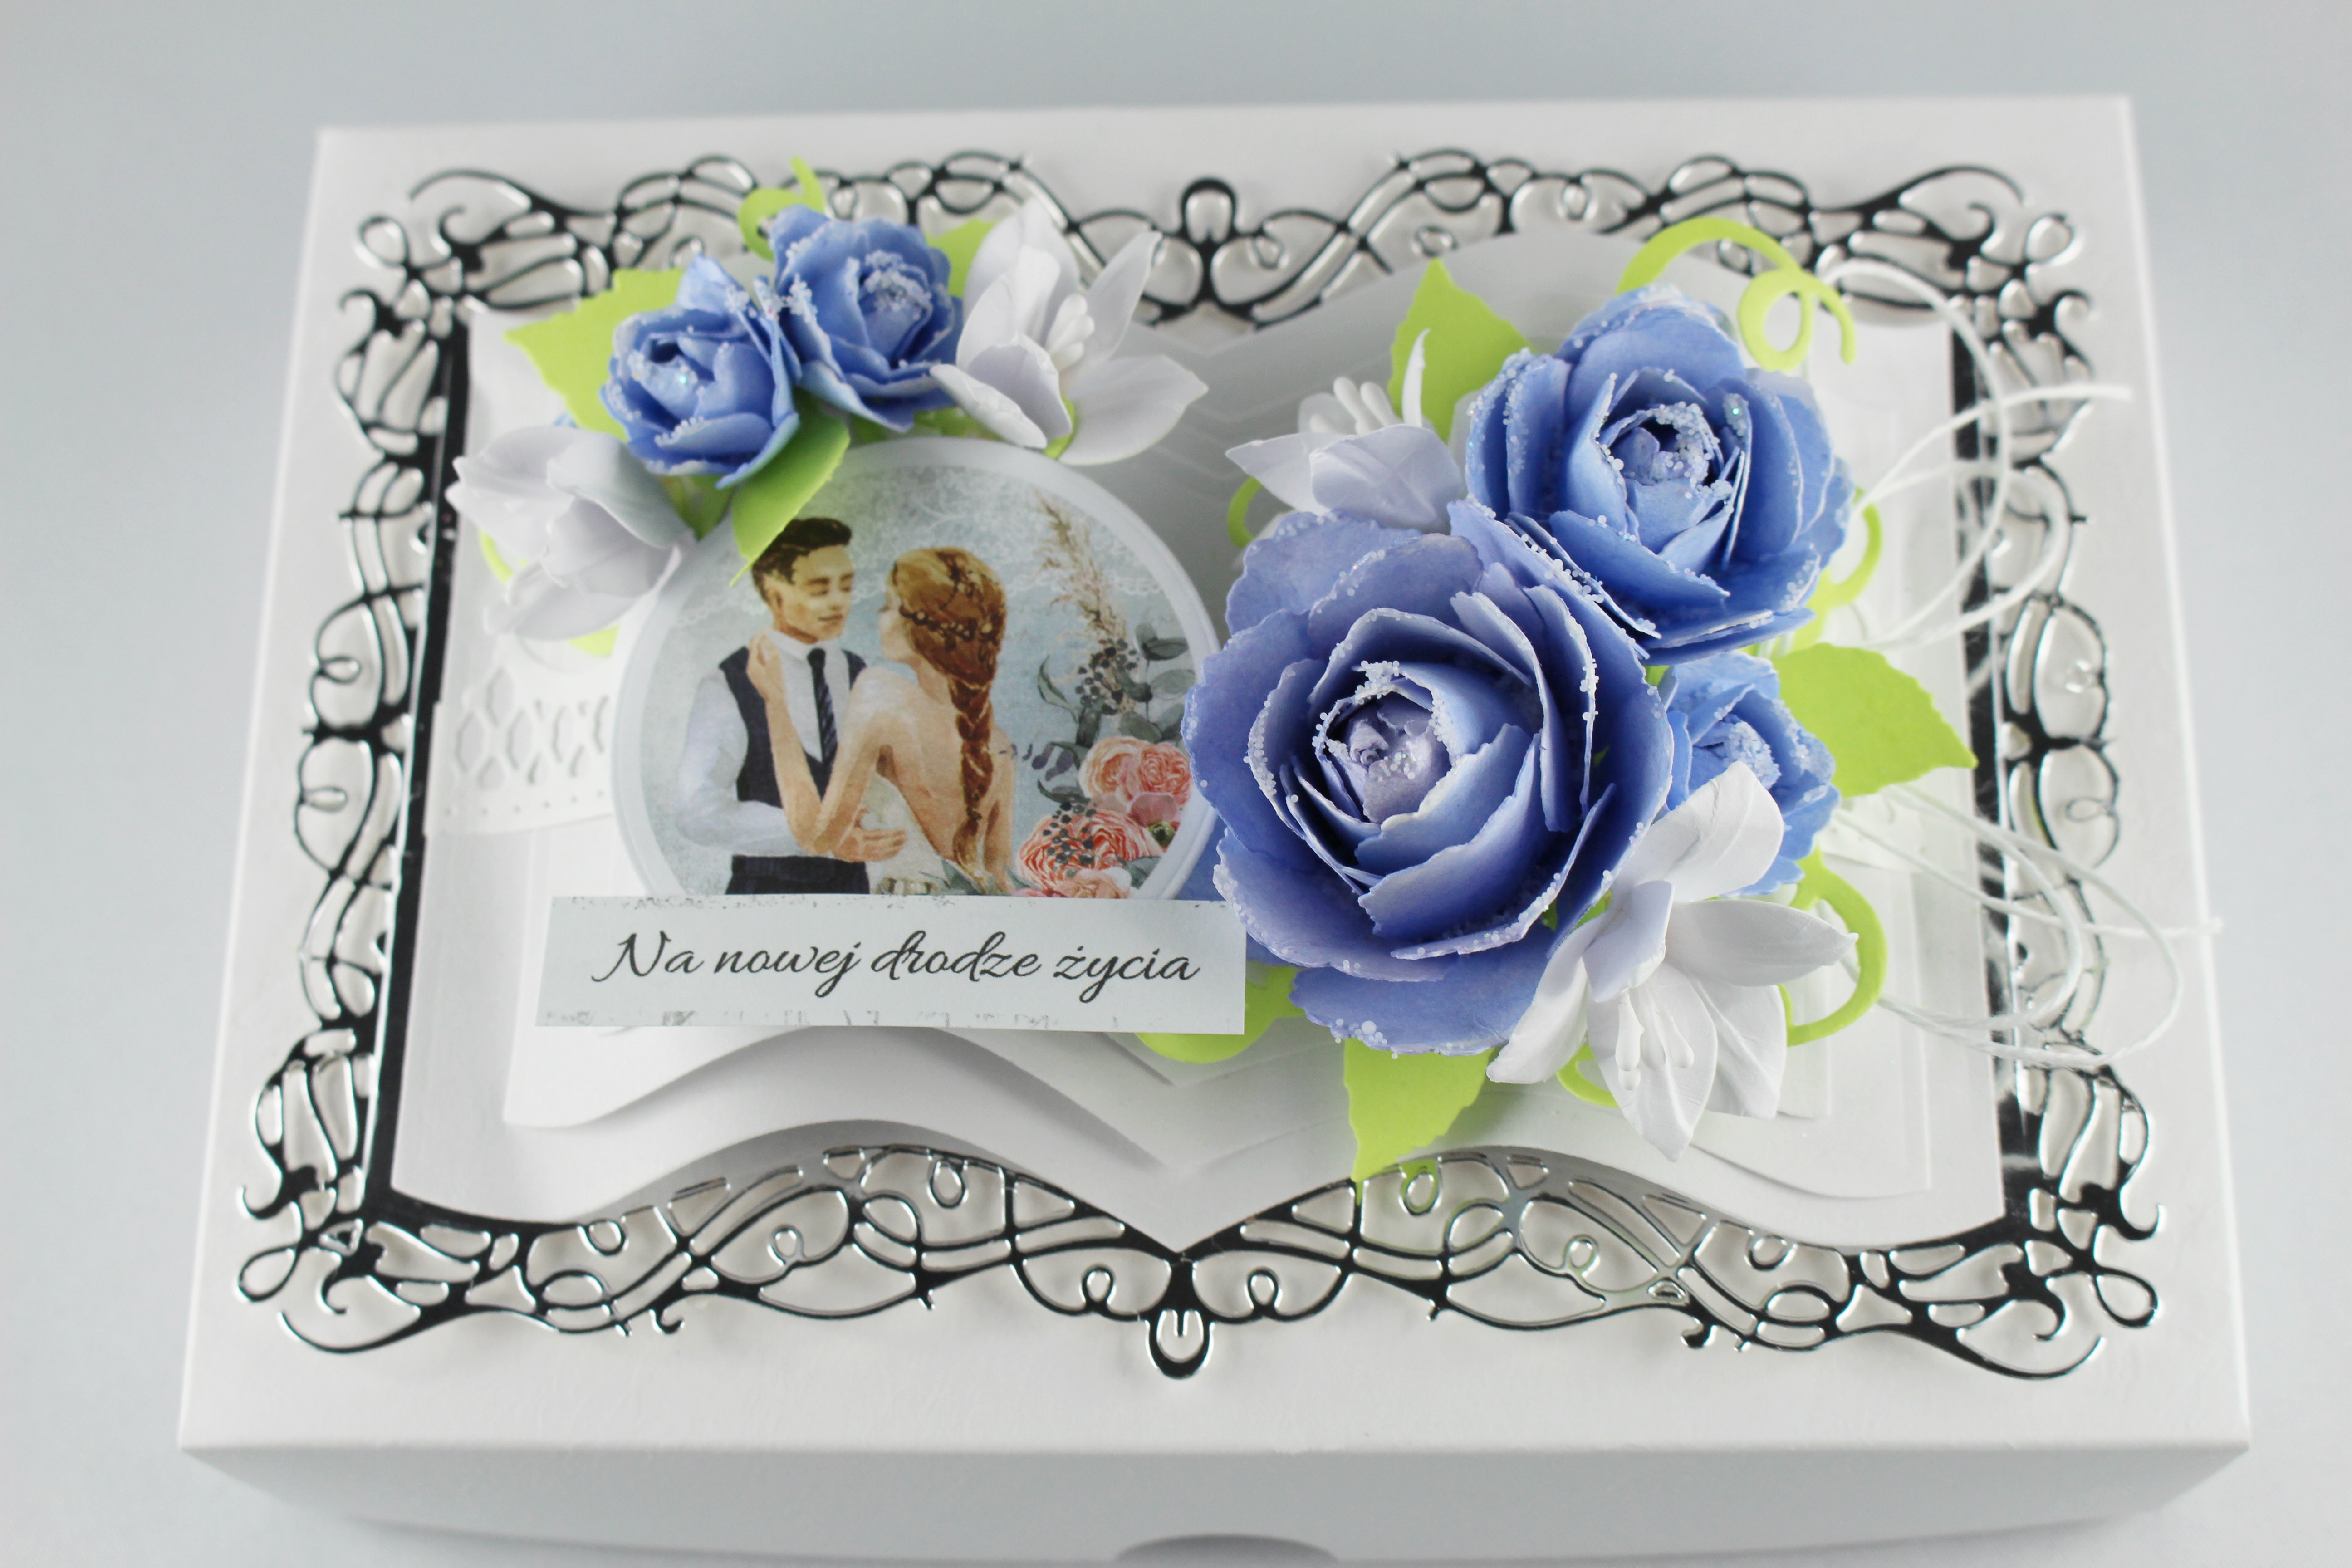
Kartka - podziękowanie w formie księgi

 Elegancka księga do kompletu z pudełkiem przewiązanym wstążką.

Piękne podziękowanie z okazji przejścia na emeryturę.


Pozdrawiam twórczo.
Bożena/ BBart

poniedziałek, 23 października 2023

Księga podziękowanie


Elegancka księga do kompletu z pudełkiem przewiązanym wstążką.

Piękne podziękowanie z okazji przejścia na emeryturę.


Wykorzystałam kwiatuszki z jednego z moich zestawów 

foamiranowych  z błyszczącymi drobinkami.

Pięknie się prezentują oraz błyszczą. 

Serdecznie polecam

 i zapraszam po ten oraz inne dostępne zestawy.


 Projekt zgłaszam na październikowe wyzwanie  ScrapAndMe #109


Dziękuję za odwiedziny.

Zapraszam ponownie po kolejne inspiracje.

Bożena/BBart


piątek, 29 listopada 2019

HAPPY FATHER'S DAY


Hi friends.
Today I come back with my inspiration for


Other Products: Glue, watercolor paint, gauze,

 Cover the 6 '' x 6 '' base of the Shutter Fold Card in the middle and outside with patterned Window Scenes Paper Collection. Cut decorative diecuts from Luxe gold paper using Rounded Lattice window die and Rounded Eyelet window die. Paste onto the base at the front and inside. Decorate the edges with decorative elements of Window Hinges Die cut from Luxe gold paper. Decorate the hinges with small decorative pearls.
Prepare a watercolor background by applying paint on a piece of acetate. Spray the paint with water and print onto a white sheet of paper. Dry the paper. Stamp the Classic Rose Stamp Set on the Deluxe Flower Shaping paper, previously painted with watercolors, a few times using Manganese blue ink. Die cut using the coordinating dies. Shape using 3d rose mold. We need 4-5 petals for a large flower. Glue the formed petals together. Stamp the leaves with Ranger Archival Jet Black ink on green paper from the Window scene paper collection. Apply green ink using the dauber. Die cut with the coordinating die and shape in the mold. Put the leaves on the bottom of the flower.
From the patterned paper of the Window scene collection and Luxe gold paper, cut out a decorative Album & Accents frame. (3.5’’ x 4.75’’) Strengthen the frame by adhering to Kraft paper. Cover the frame with glue only on the left. Place the floral composition on a layer of gauze. Fussy cut sentiment from the Window Scene collection and adhere between the flowers. Tie a bow of white string and place it on the right between the flowers.
Roses tutorial can be found HERE.

I hope you like my creation.
Don't forget to visit Heartfelt Creation blog for instruction,
where you can find beautiful papers, dies,stamps and much much more.

Thank you for your visit.
Bożena/BBart

środa, 25 września 2019

ANNIVERSARY ROSES BOOKLET and tutorial on roses

Hi friends.
Today I come back with my inspiration for


Instructions Cut the largest frame from gold cardstock. Cut the pages from thin white paper using the plain edge booklet dies Glue the pages of the book in the middle and on the sides with double-sided adhesive tape, creating folds.


At the bottom, glue a piece of decorative Petite Pocket Accents. Arrange a composition from Swirly Border Accents with die cuts from green paper from the Wild Aster Collection. Arrange the leaves and roses on the diecuts. Stamp the sentiment from Celebrate Love cling stamp set on white cardstock with pink ink, cut out using scissors and glue at the bottom. Make a triangular stand from gold paper and stick it on the back.

 WATERCOLOR ROSES- step by step


Prepare paper roses: Create a watercolor background by applying watercolor paint on a sheet of acetate


 and spray the paint with water. 


Place deluxe flower shaping paper on the acetate sheet to pick up the color and dry the paper


Stamp the Classic rose on the water colored paper a few times using the Memento Rose Bud ink and diecut using the coordinating dies.


 Prepare the leaves in the same way as the flowers: Create a watercolor background on acetate, pick up the color on deluxe flower shaping paper, stamp the leaves using Memento Bamboo Leaves, diecut and shape using the 3D Rose shaping mold.


 Shape using the 3D Rose shaping mold. Glue together 4 – 5 petals for each flower.


Other Products: Gold paper, white paper, glue, watercolor paint, double-sided adhesive tape, 


 I hope you like my creation.
Don't forget to visit Heartfelt Creation blog for instruction,
where you can find beautiful papers, dies,stamps and much much more.

Thank you for your visit.
Bożena/BBart